
In the blog post, we will be installing Azure PowerShell on Windows 10 machine.
Before we start the installation process, lets find out the Windows PowerShell version.

Now that we know the Windows PowerShell version, lets install Azure PowerShell by typing the below command.


Once Azure PowerShell is installed, connect to an Azure account.

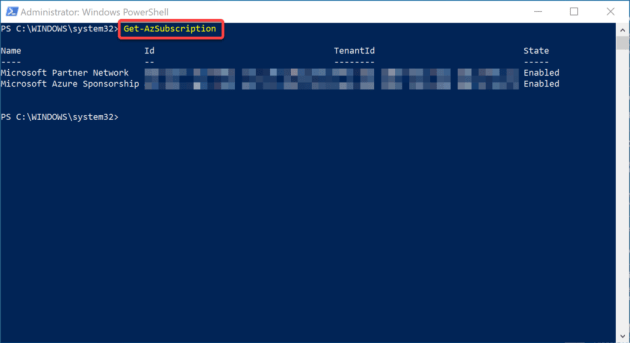
Once connected, we will see an Azure Subscription.

Use the Get-AzSubscription command to fetch Azure subscriptions.

Running the get-azresourcegroup command did not display any resource group(s) because there are no resource groups in the subscription.
Lets create a new resource group called ‘AKINFRA‘

The ‘AKINFRA‘ resource group was created.
The next step is to create a new virtual network called ‘InfraVnet‘
