In the blog post, we will be installing Azure PowerShell on Windows 10 machine.
Before we start the installation process, lets find out the Windows PowerShell version.
 $PSVersionTable
Now that we know the Windows PowerShell version, lets install Azure PowerShell by typing the below command.
 Install-Module -Name Az -AllowClobber -Scope AllUsers

Once Azure PowerShell is installed, connect to an Azure account.
 Connect-AzAccount
Once connected, we will see an Azure Subscription.

Use the Get-AzSubscription command to fetch Azure subscriptions.
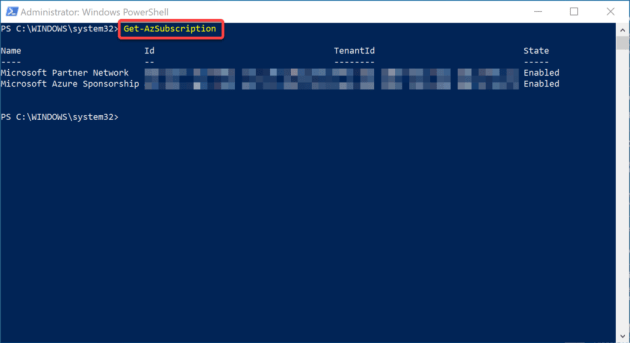 Get-AzSubscription
 get-azresourcegroup
Running the get-azresourcegroup command did not display any resource group(s) because there are no resource groups in the subscription.
Lets create a new resource group called ‘AKINFRA‘
 New-AzResourceGroup -name ‘AKINFRA’ -Location ‘canadacentral’
The ‘AKINFRA‘ resource group was created.
The next step is to create a new virtual network called ‘InfraVnet‘
 New-AzVirtualNetwork -ResourceGroupName ‘AKINFRA’ -Location ‘canadacentral’ -Name ‘InfraVnet’ -AddressPrefix 10.0.0.0/16