Azure Migrate – Server Setup

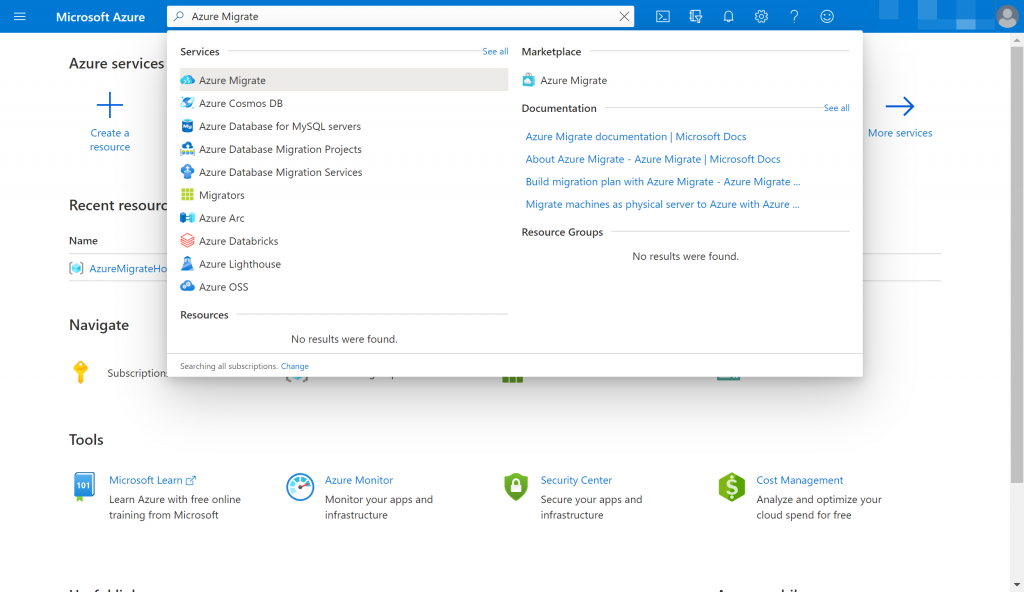
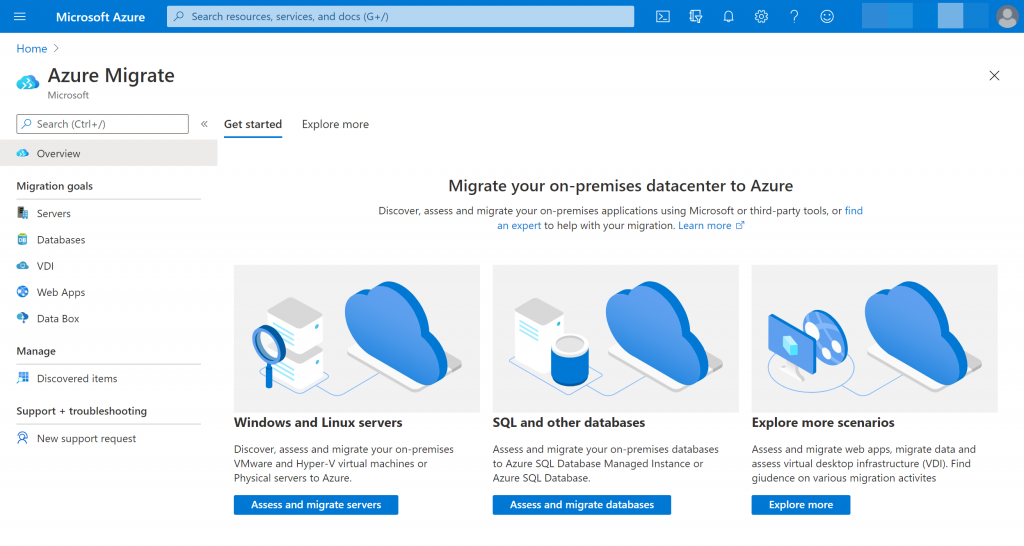
I have been getting a lot of questions regarding Azure Migrate specially after the Azure Migrate webinar. In the blog, I will go through the Azure Migrate server setup.

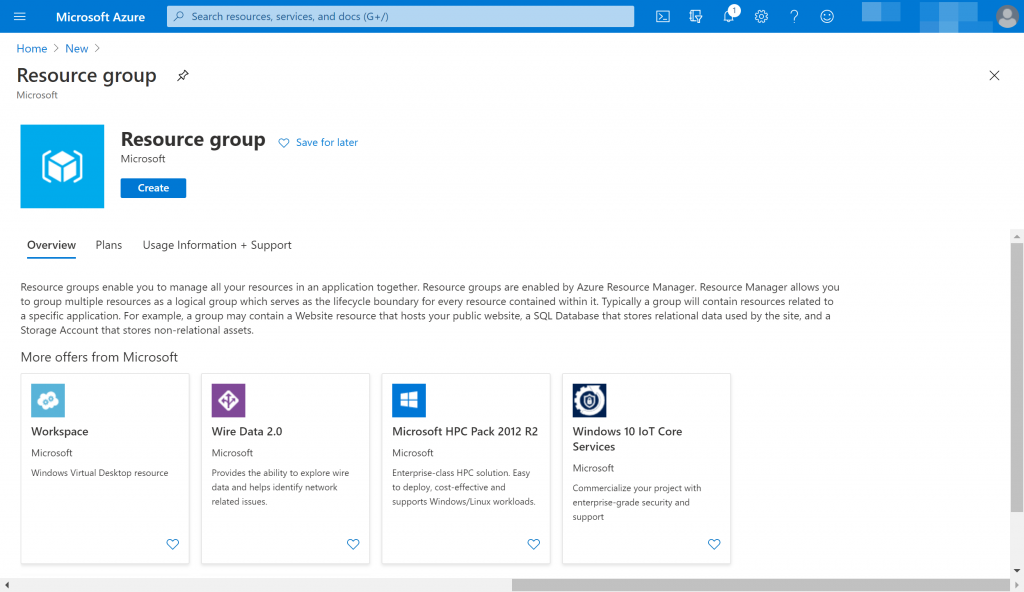
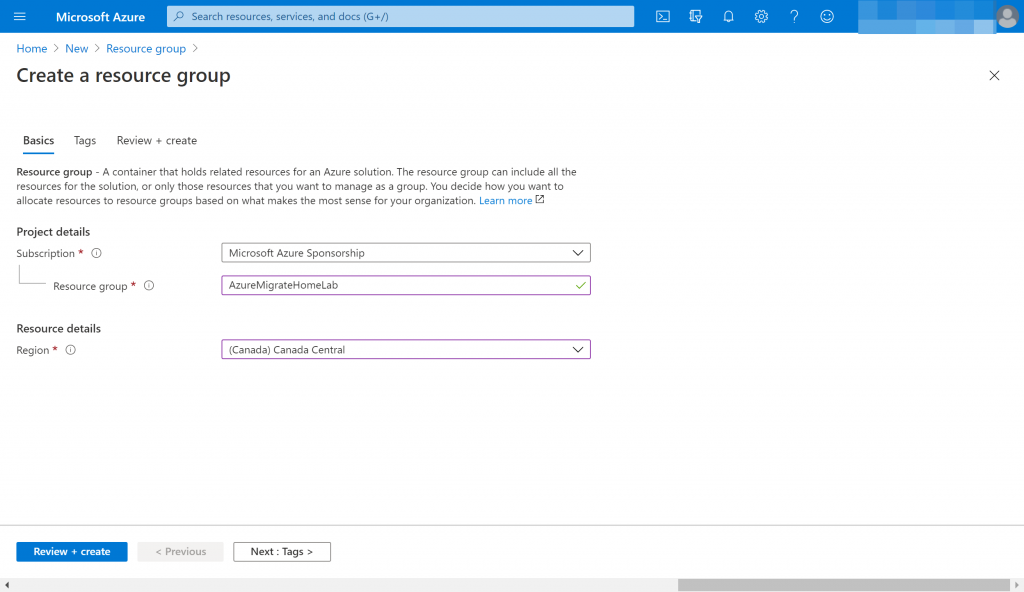
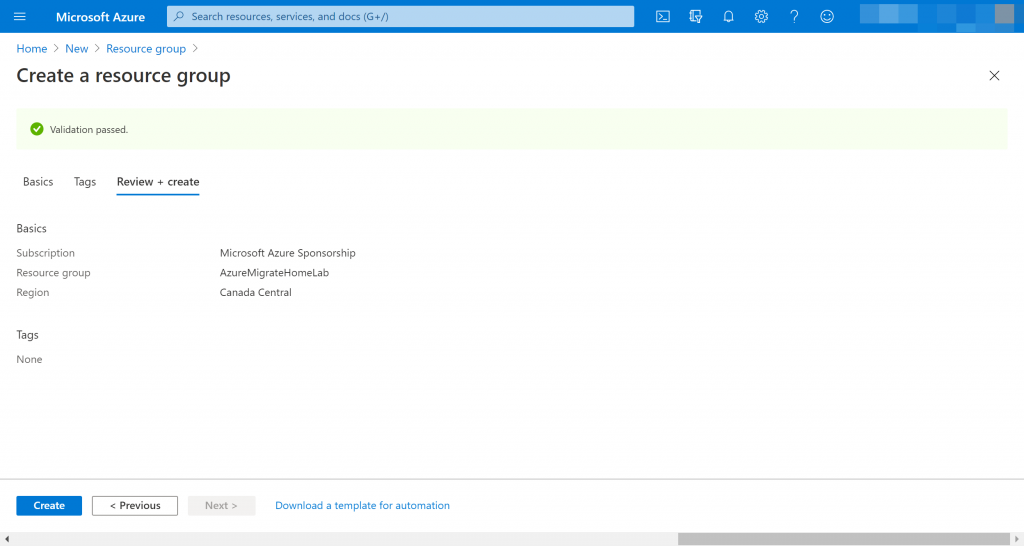
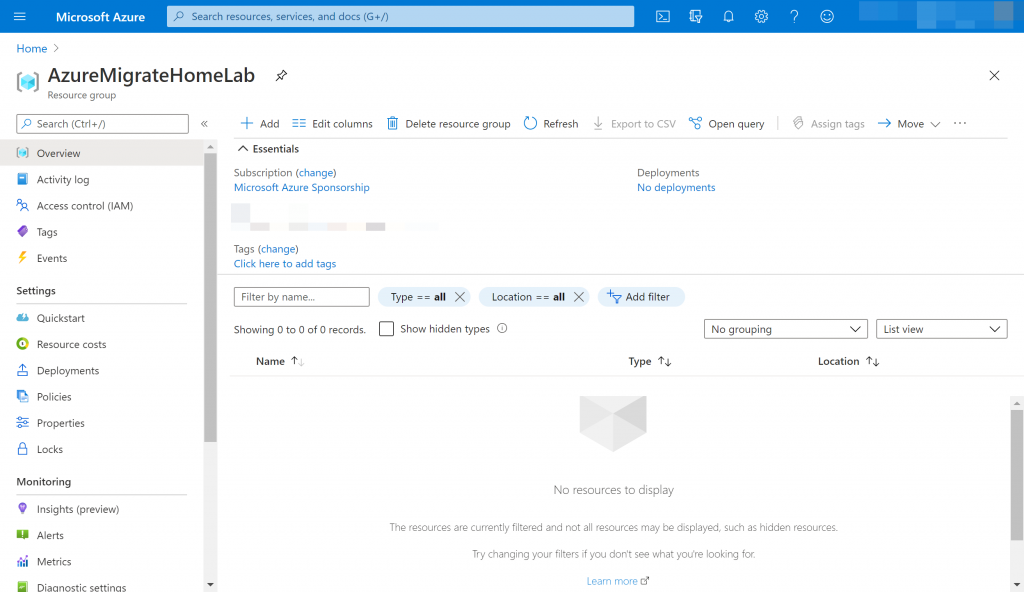
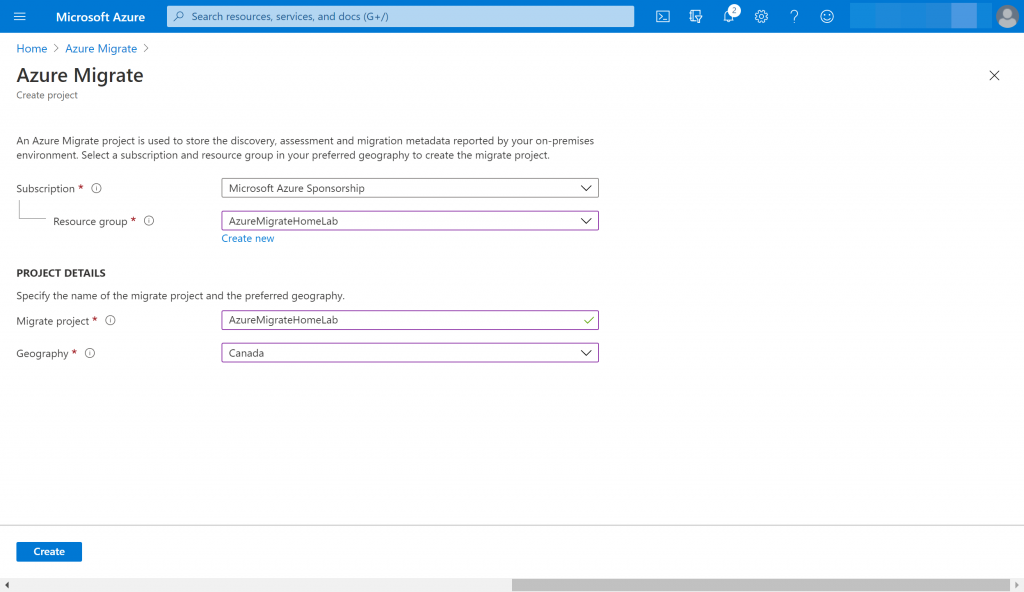
Before we start the Azure Migration portion, lets setup a new Resource group.

Select the Subscription and Azure Region you want to use.
Once validation passes, click “create”
As you can see the new Resource group has been created.
Search “Azure Migrate” on the search bar
Click on “Servers” since we will be doing server assessment and migration.
Click “Create” once you fill in the migrate project name and select the geography.
Click “Discover” to download the Azure appliance.
There are three options for Azure Migrate appliance so choose the one that fits your environment.
Click “download” Please note that the Azure Migrate application is a 12 GB file so it might take some time to download.

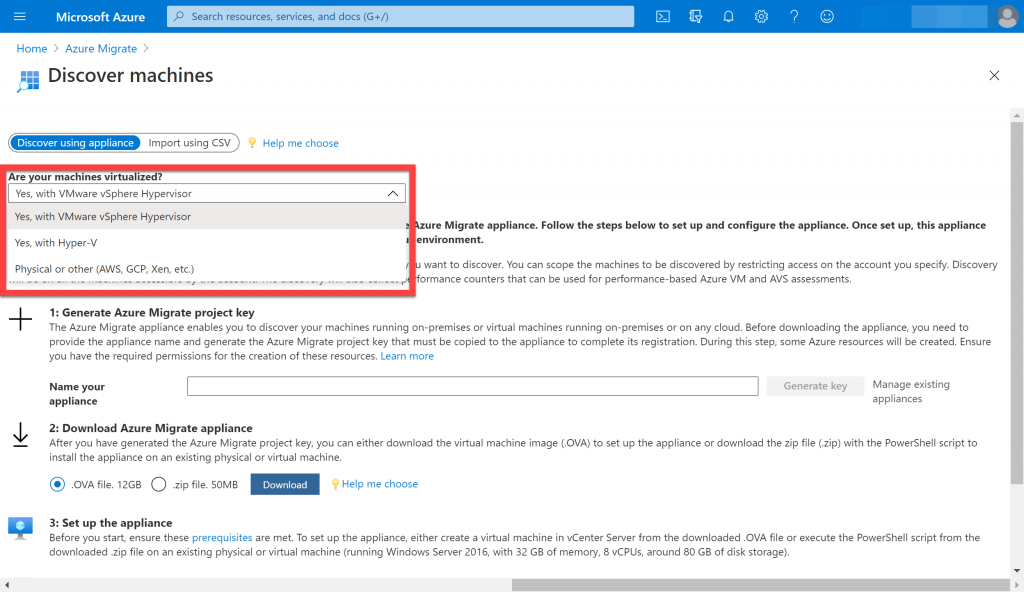
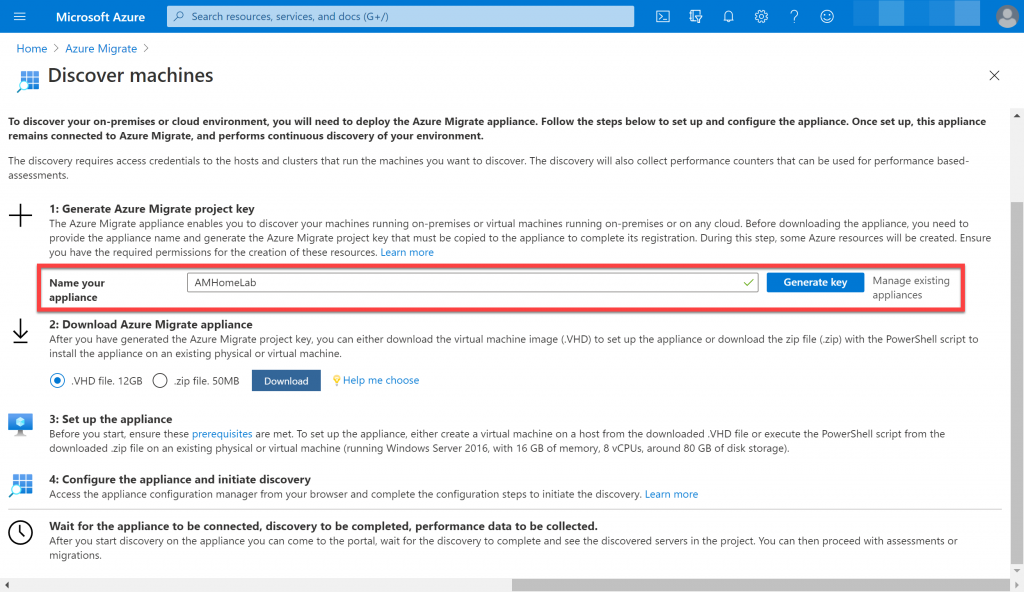
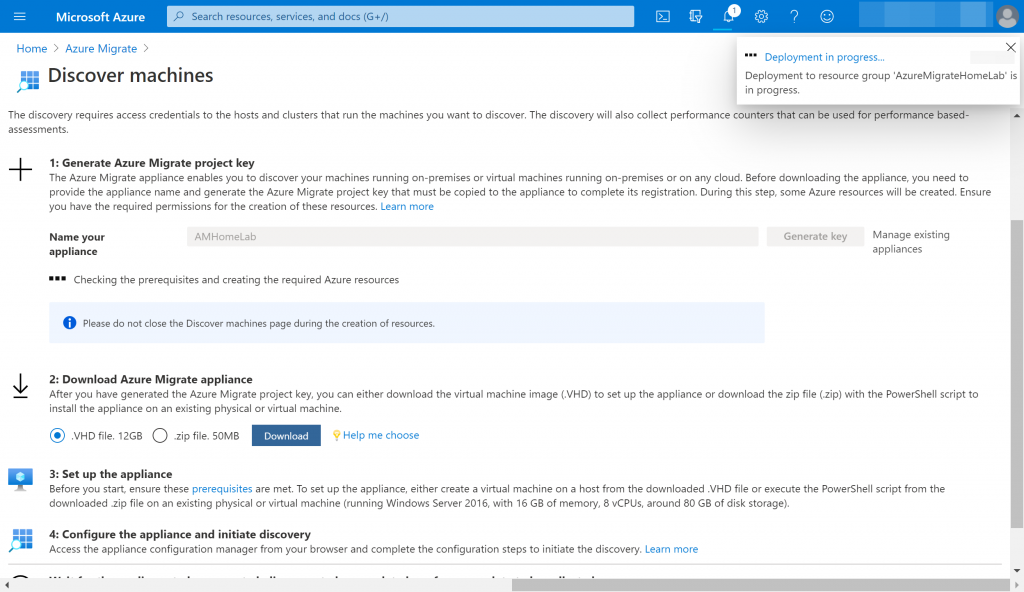
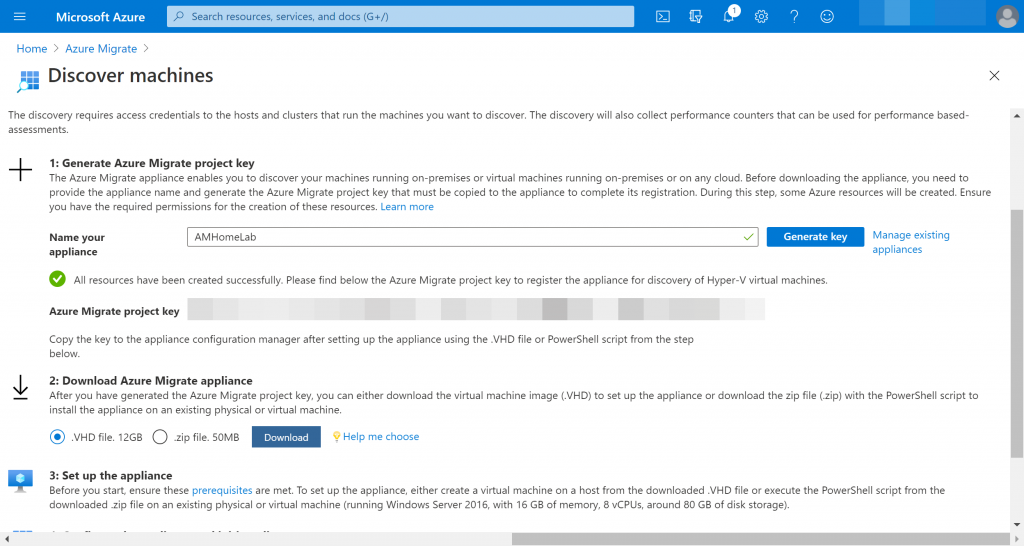
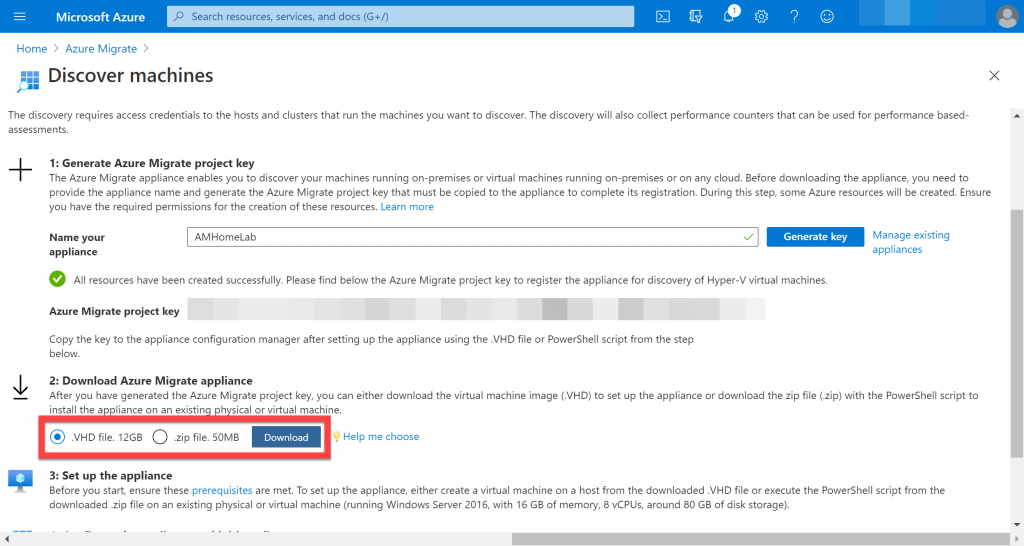
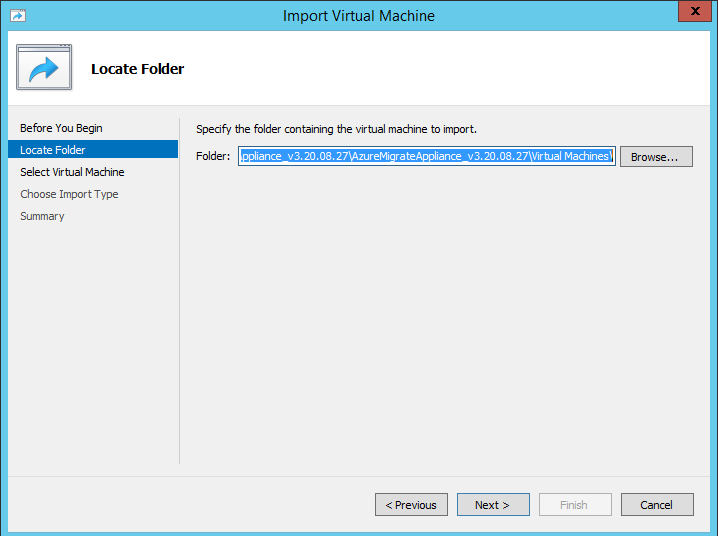
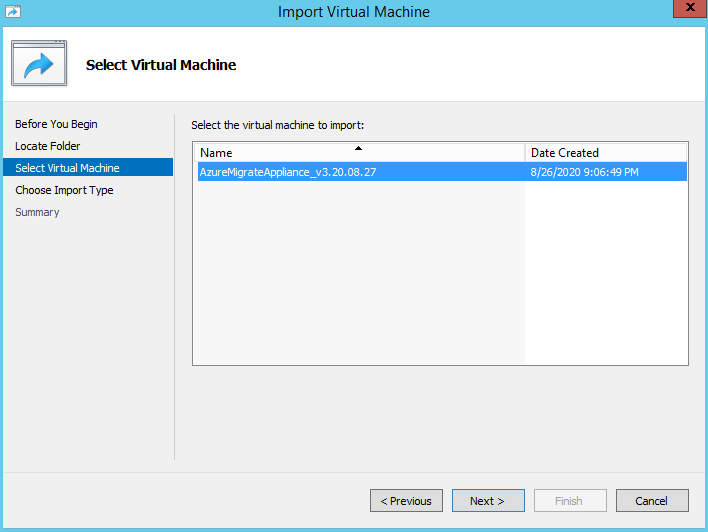
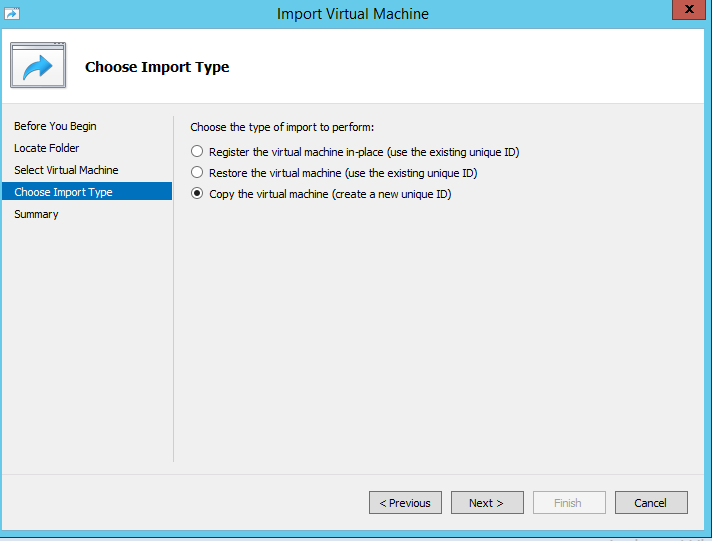
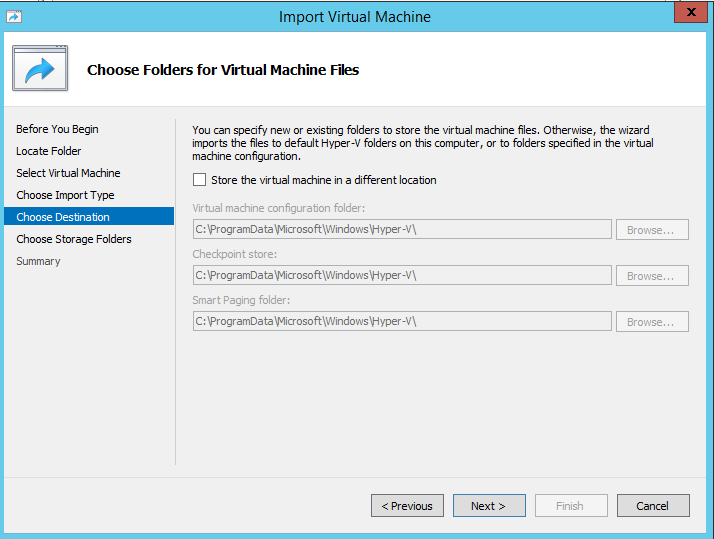
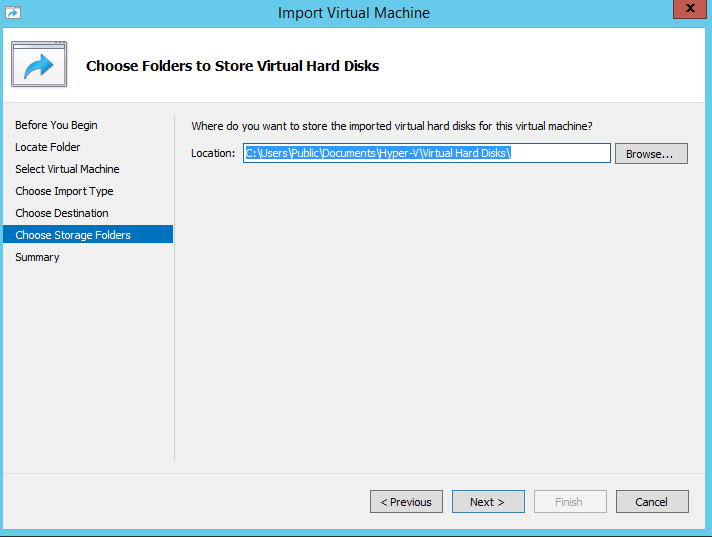
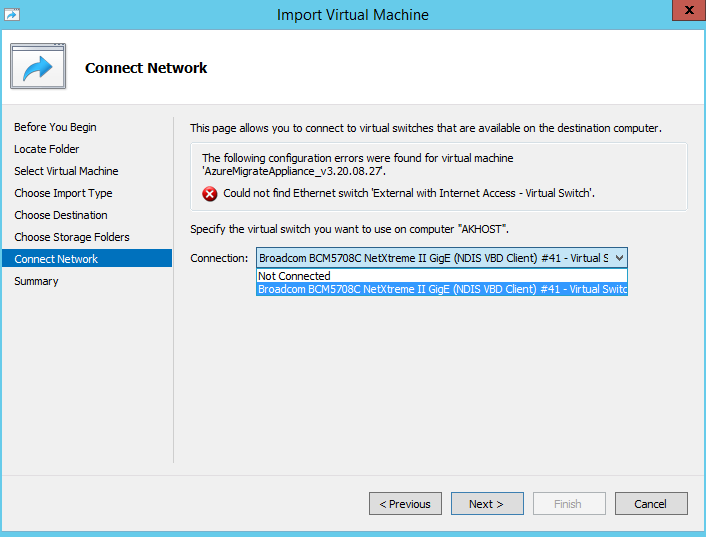
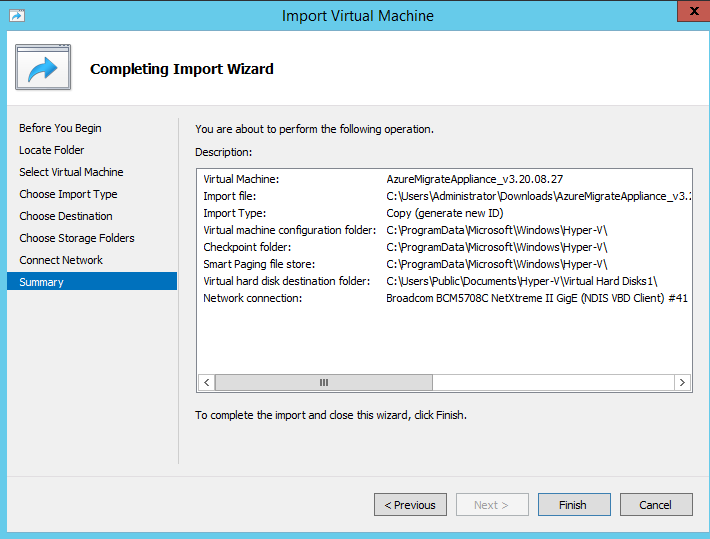
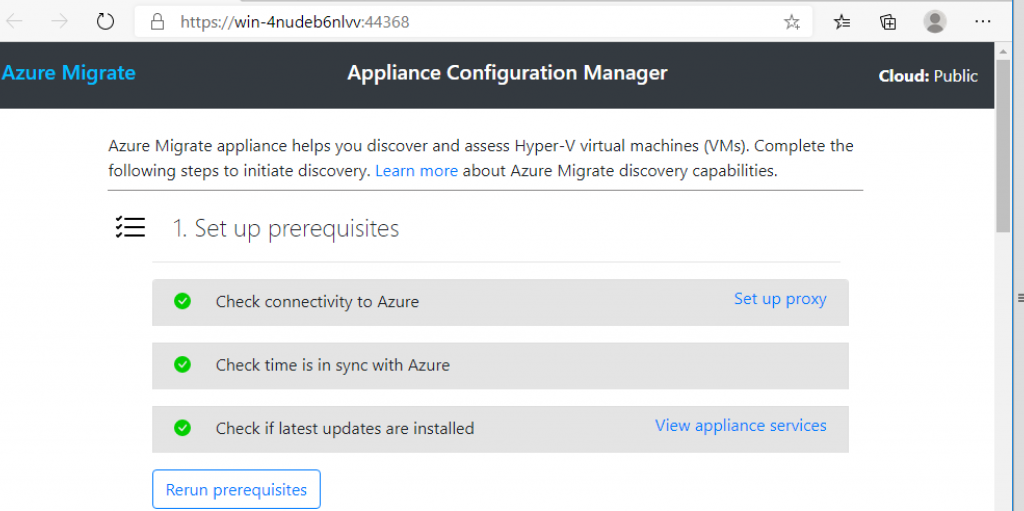
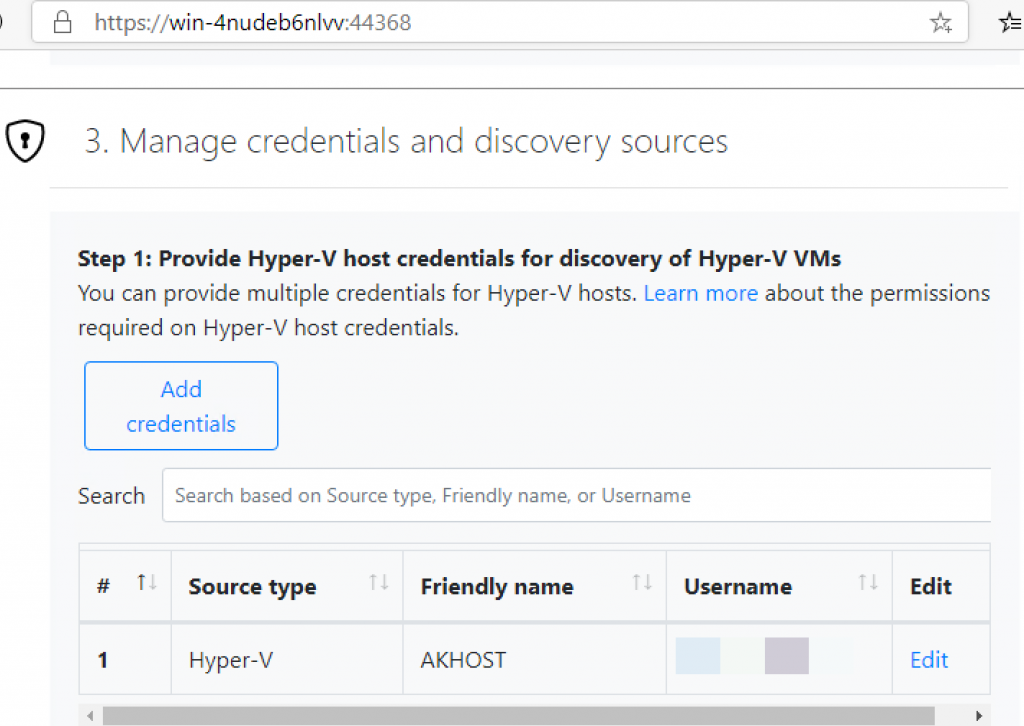
Now that you have download the Azure Migrate appliance, its time to import it. Since I am using Hyper-V, I will import the appliance to my Hyper-V host.

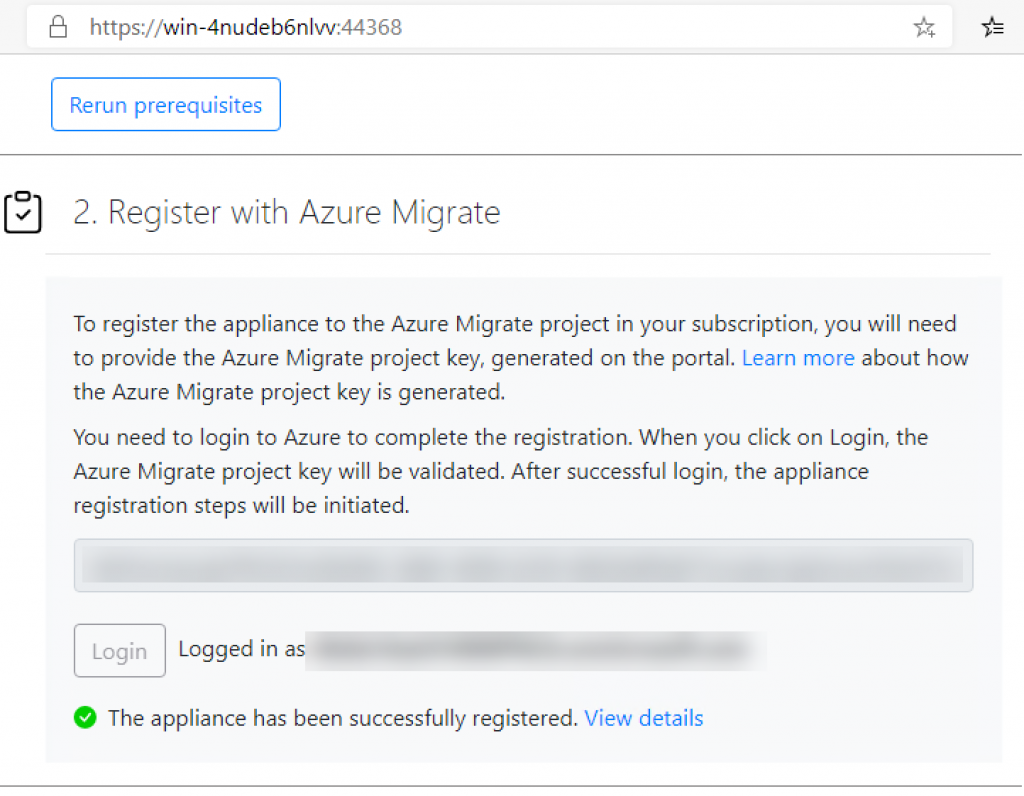
Once you power on the Azure Migrate appliance, the first screen will show the license terms and click “Accept” to go to the next screen.

Click on Microsoft Edge and it will open the Appliance Configuration Manager. You can access the application by https://appliance name or IP address: 44368.
Enter the generated key to register the appliance.

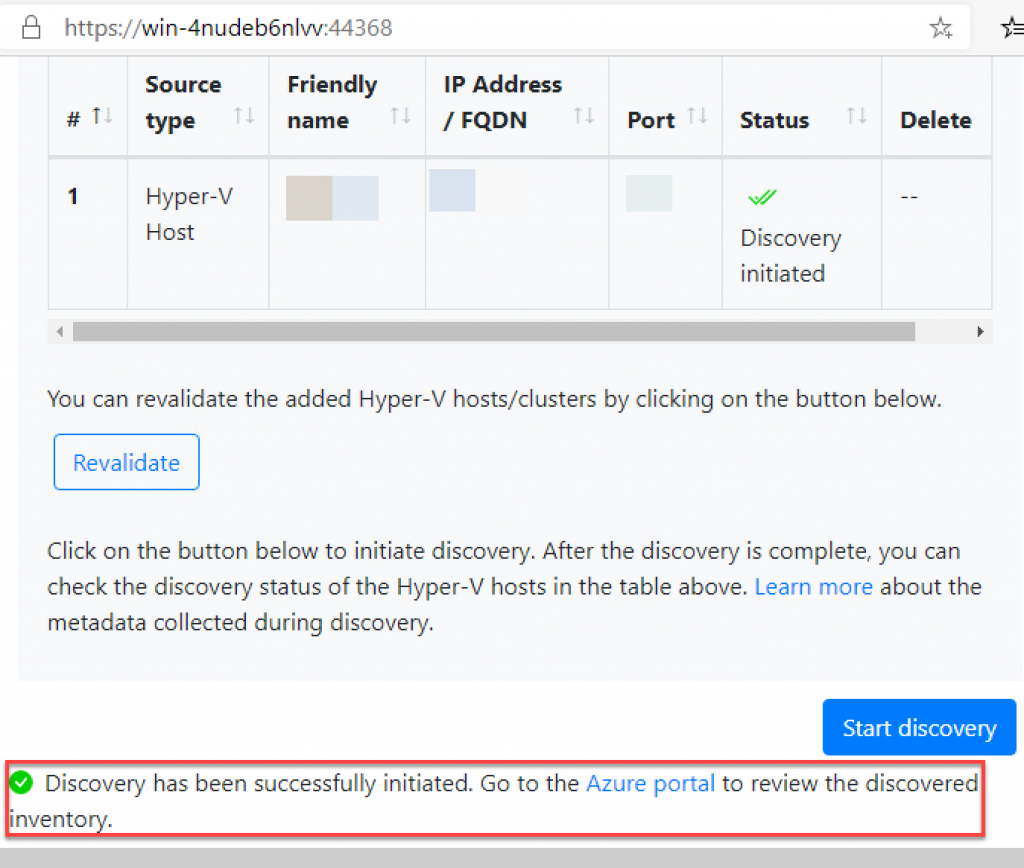
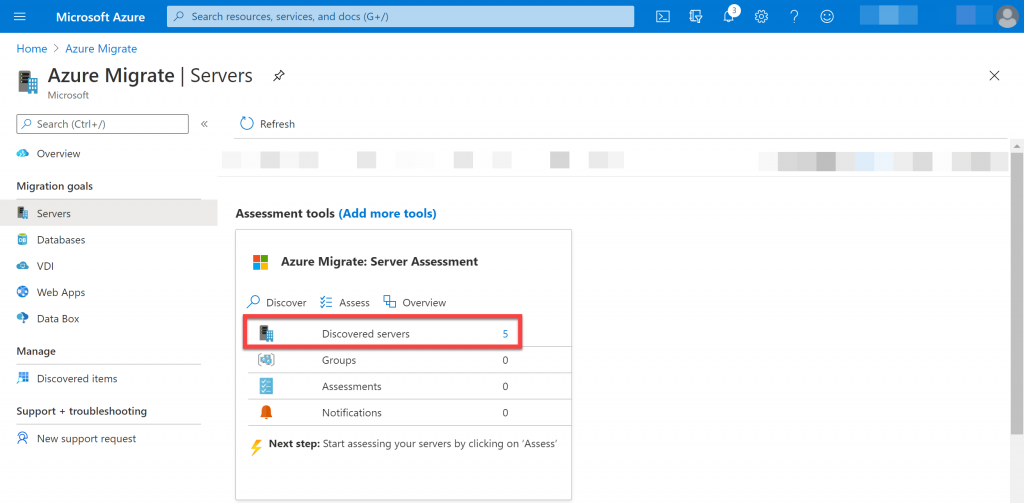
There you have it. All the virtual machines should have been discovered.

One thought on “Azure Migrate – Server Setup”

Leave a Reply

Your email address will not be published. Required fields are marked *